Enhance your portrait photography and videos with these 20 HDR Portrait Presets & Video LUTs Free! Perfect for photographers, video editors, content creators, and influencers, these Lightroom Presets offer high dynamic range, natural skin tones, deep contrasts, and professional cinematic effects for both photos and videos. You Can Also Download Free Photoshop Overlays
Whether you’re creating content for Instagram, TikTok, YouTube, or professional projects, these presets and LUTs will take your editing to the next level! You Can Also Download Free Photoshop Action.
What’s Included?
20 Lightroom Desktop Presets (.XMP)
20 Camera Raw Presets for Photoshop (.XMP)
20 Lightroom Mobile Presets (.DNG)
20 Video LUTs (.CUBE) – Compatible with Premiere Pro, DaVinci Resolve, After Effects, Final Cut Pro, Filmora, VN Video Editor, and more.
Works on RAW & JPEG Images
Compatible with Mac & PC
Instant Download & Easy Installation
Features:
HDR & Cinematic Portrait Enhancements – Balanced skin tones, deep contrast, and vibrant colors.
One-Click Editing – Instantly apply HDR effects to photos and videos.
Perfect for Content Creators – Ideal for vloggers, filmmakers, travel bloggers, and influencers.
Fast & Easy to Use – No complex adjustments needed.
Non-Destructive Workflow – Keeps your original photo or video intact.
How to Install & Use the Presets & LUTs
For Lightroom Classic (Desktop)
- Open Adobe Lightroom Classic CC and go to Develop Mode.
- On the left panel, open the Presets tab.
- Click on the “+” button and select “Import Presets”.
- Select the XMP files from the unzipped folder.
- The presets will now be visible in your Presets Panel.
For Lightroom Mobile (DNG Presets)
- Download the DNG presets to your phone.
- Open the Adobe Lightroom Mobile App and create a new album.
- Click on the album and tap “Add Photos”.
- Select the DNG preset files and press “Add”.
- Open a preset, tap the “…” menu on the top-right, and choose “Copy Settings”.
- Open your photo and paste the settings for an instant HDR look!
For Video LUTs (Premiere Pro, DaVinci, Final Cut Pro, Filmora, etc.)
- Open your video editing software (Premiere Pro, DaVinci Resolve, etc.).
- Locate the Color Grading or LUTs Panel.
- Select “Import LUT” and browse the .CUBE files from the folder.
- Apply the LUT to your video and adjust intensity as needed.
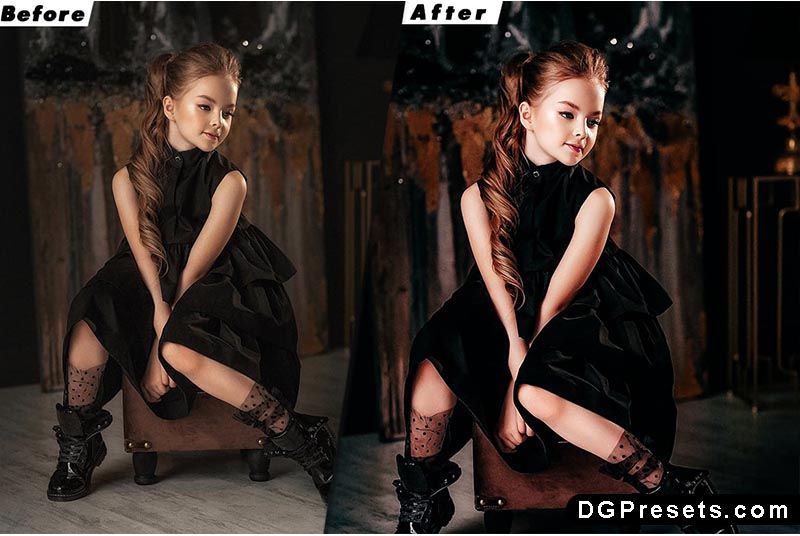
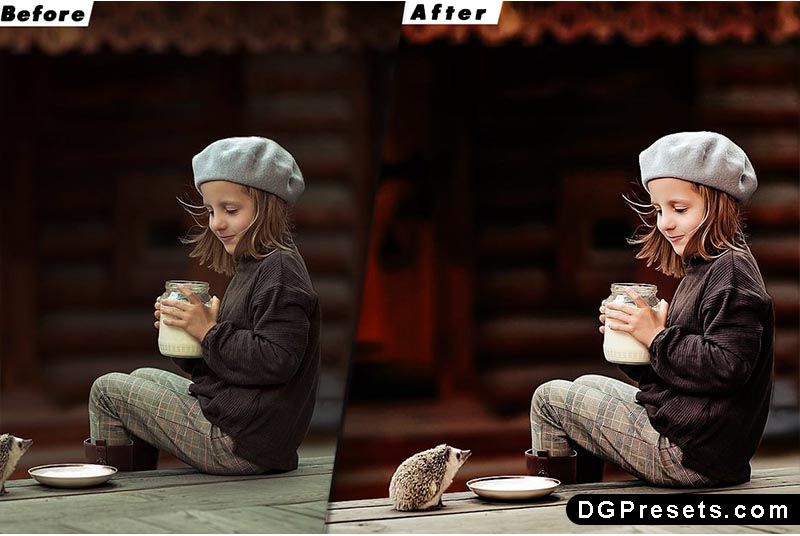
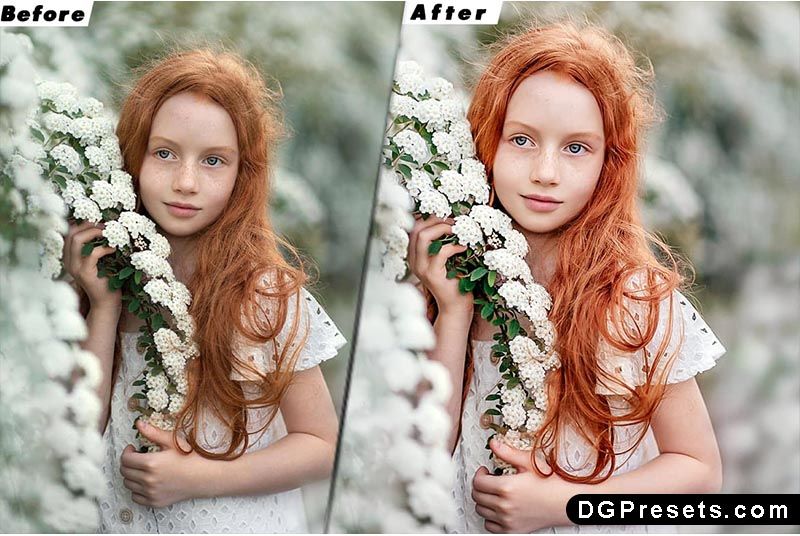
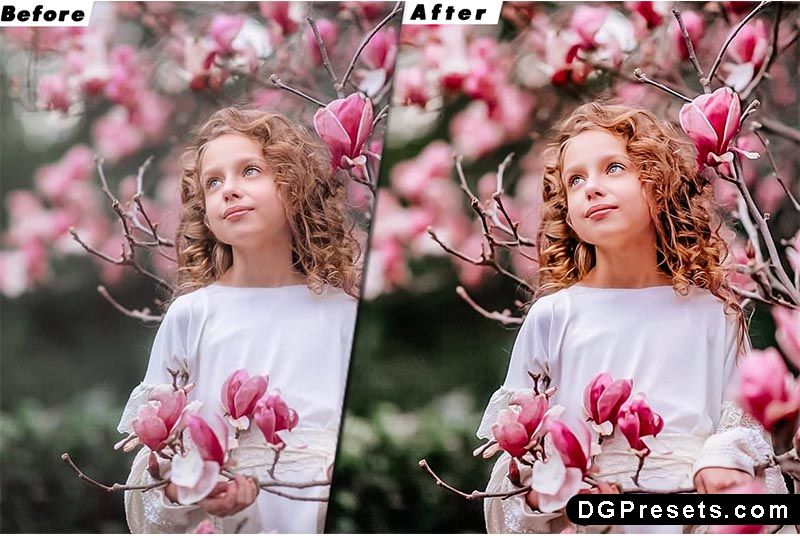
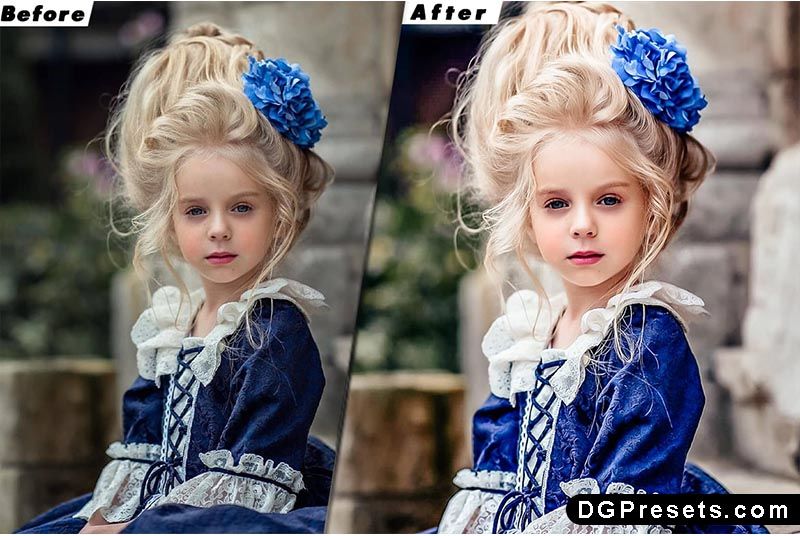
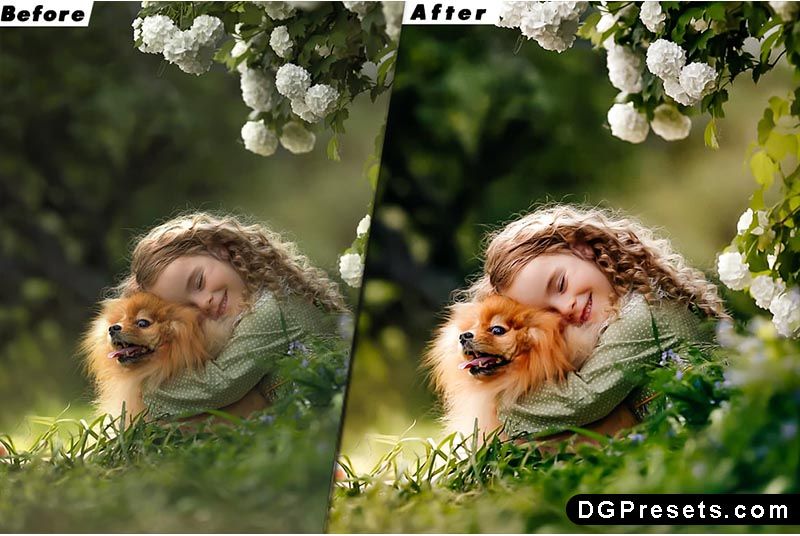
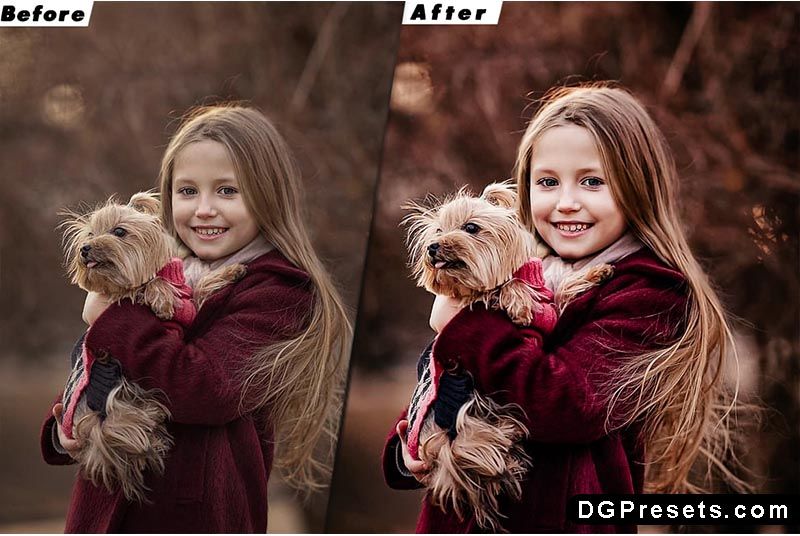
Before & After Preview
Why Download from DGPresets.com?
Completely Free – No hidden fees, just high-quality Lightroom presets and LUTs.
Commercial Use Allowed – Perfect for personal and professional projects.
Instant Download Links – No waiting, just quick access.
Before & After Previews – See the transformation before applying.
Download Free

Want more free Photoshop actions & presets? Visit DGPresets.com for unlimited downloads!