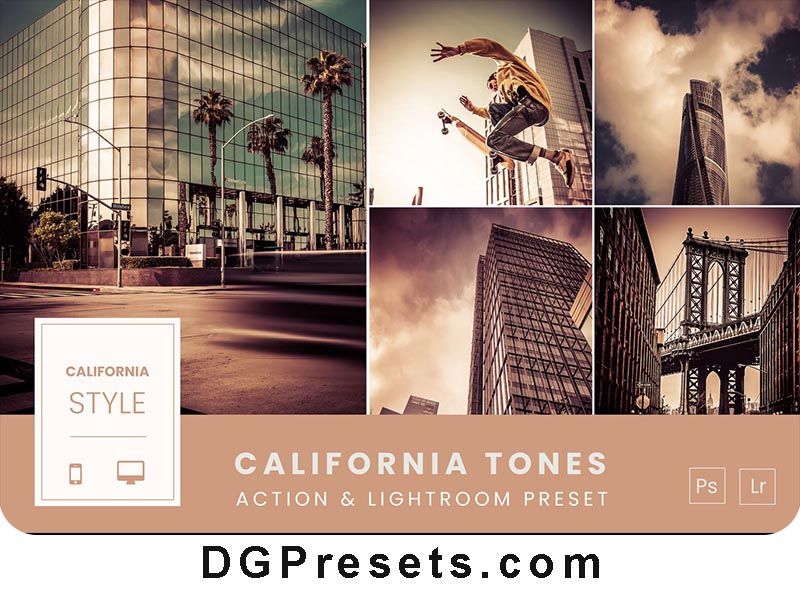
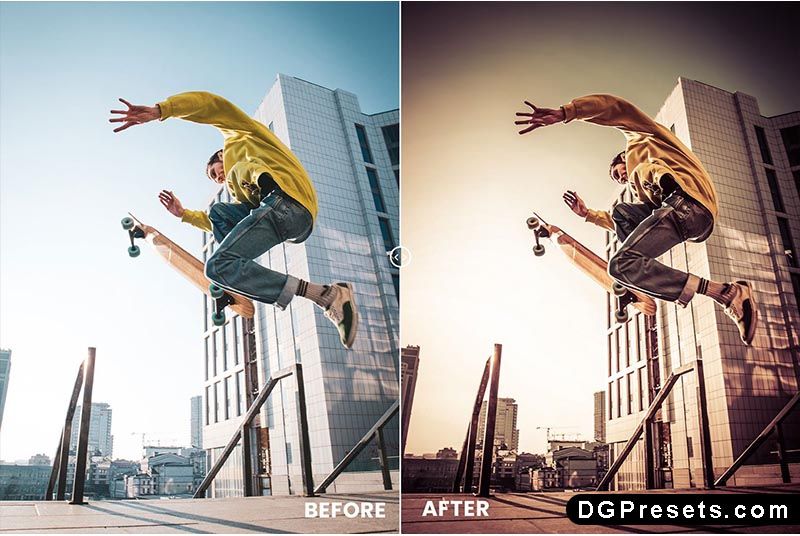
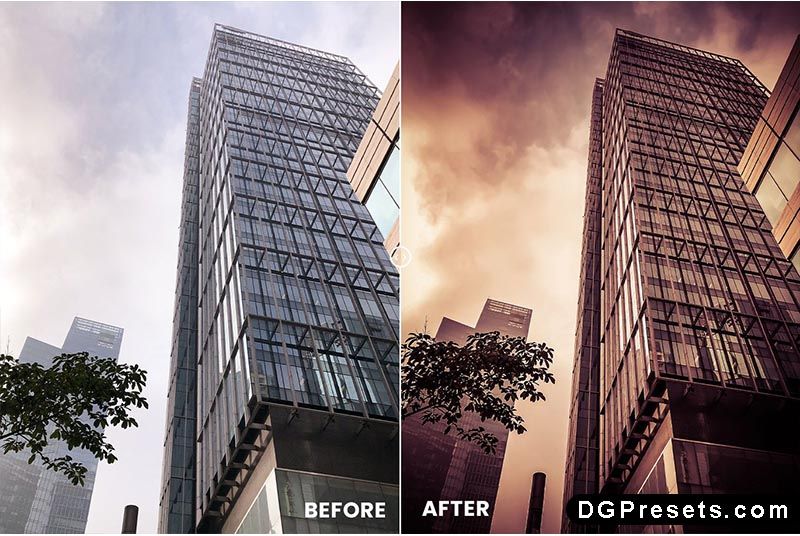
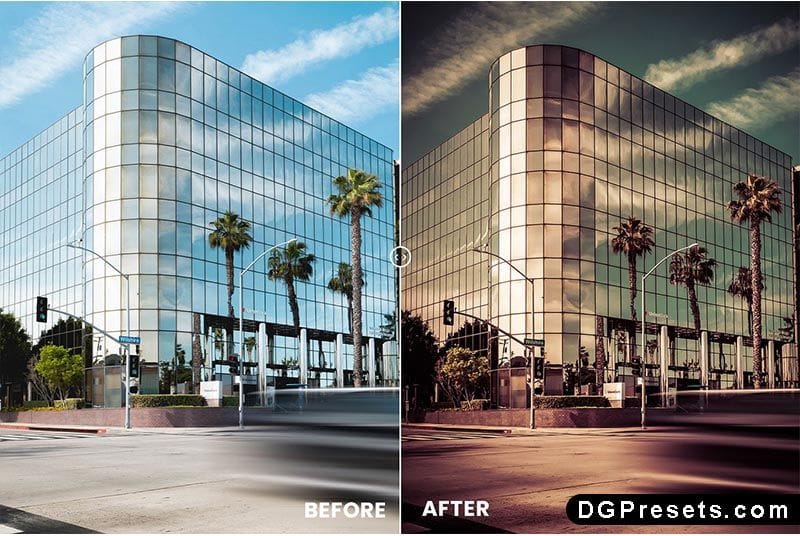
Give your photos a stunning California-inspired vibe with this California Tones Photoshop Action and Lightroom Preset Free Download. Designed to enhance low-light photos with rich red and yellow hues, this Lightroom Presets adds a soft, cinematic aesthetic perfect for fashion, lifestyle, travel, and moody product photography. You Can Also Download Free Photoshop Overlays
This easy-to-use preset pack is compatible with Photoshop CC and Lightroom (Desktop & Mobile), delivering professional-quality results in just one click. You Can Also Download Free Photoshop Action,
Features of California Tones Preset & Action
Adds warm, moody California-inspired tones
Perfect for portraits, travel, and lifestyle photography
Compatible with Photoshop & Lightroom (Desktop & Mobile)
Non-destructive editing for flexibility
One-click transformation for quick results
Tested and optimized for high-resolution images
What’s Included?
Photoshop Action (ATN) – Works with Photoshop CC
Lightroom Desktop Preset (XMP) – Works with Lightroom CC & Classic
Lightroom Mobile Preset (DNG) – Perfect for editing on the go
Step-by-Step Installation Guide
How to Install & Use the Action in Photoshop
Installation (Photoshop CC & Higher)
- Open Adobe Photoshop.
- Go to Window > Actions to open the Actions Panel.
- Click on the menu icon (top-right corner) and select Load Actions.
- Choose the downloaded ATN file and click Load.
- The action will now be available in the Actions Panel.
How to Apply the Action
- Open your desired photo.
- Navigate to the Actions Panel and select California Tones Action.
- Click Play and enjoy the transformation!
How to Install & Use Presets in Lightroom
For Lightroom Desktop (XMP Format)
- Open Adobe Lightroom and go to the Develop Module.
- In the left panel, find the Presets section and click the + icon.
- Select Import Presets and choose the XMP file from your downloaded folder.
- The preset will now be available in your Presets Panel.
For Lightroom Mobile (DNG Format)
- Download the DNG preset file to your phone.
- Open the Lightroom Mobile App and import the DNG file.
- Tap on the imported image, then click Presets > Create Preset.
- Name the preset and save it under a preferred group.
- Now, apply the preset to any photo with just one tap!
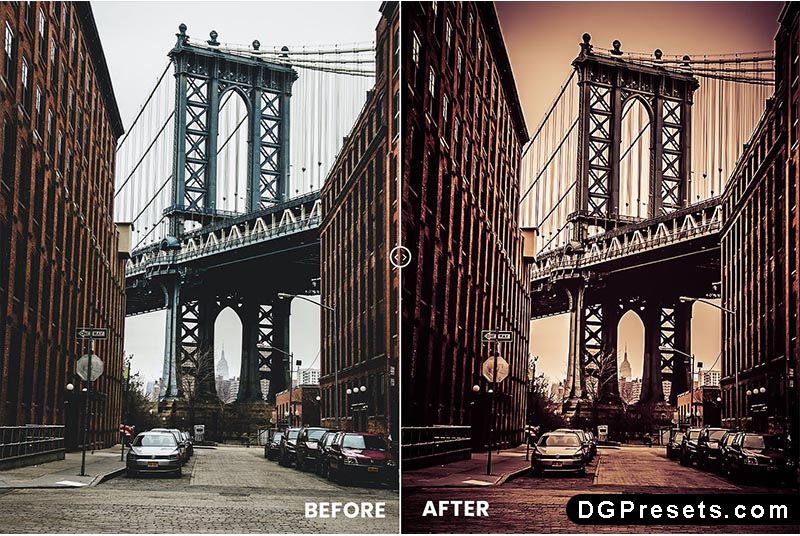
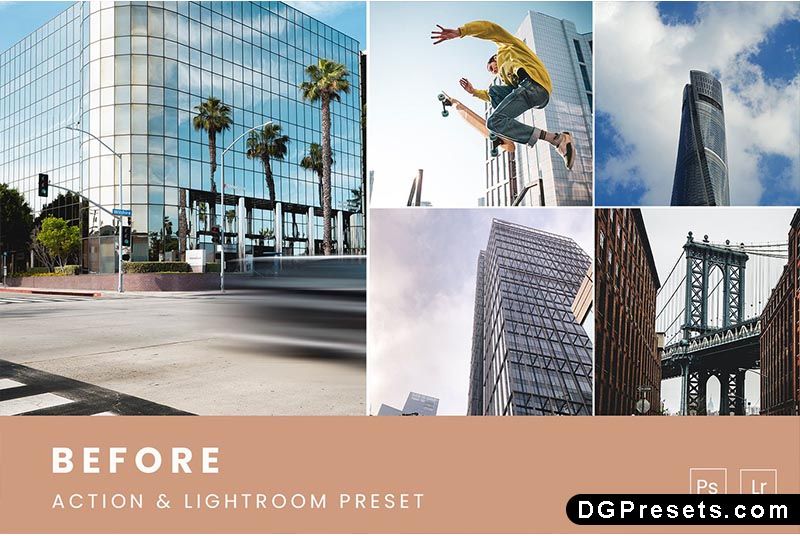
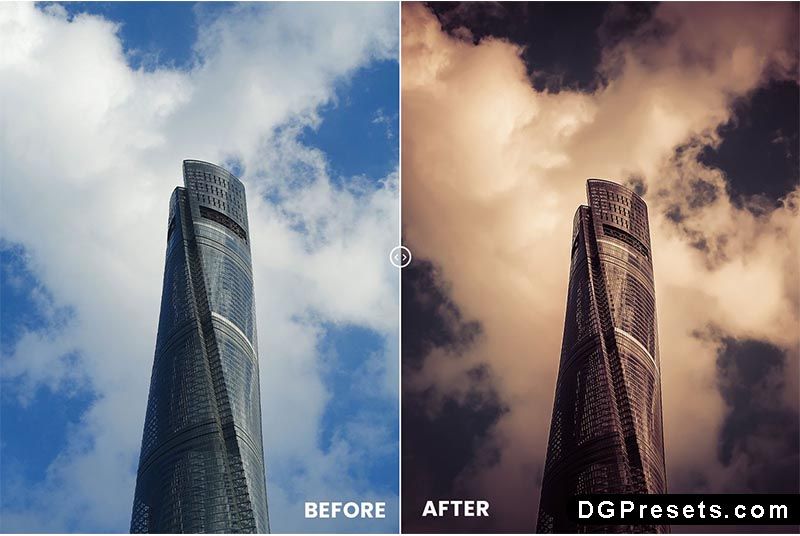
Before & After Preview
Why Download from DGPresets.com?
- Completely Free – No hidden fees, just high-quality presets.
- Commercial Use Allowed – Use it for personal and professional projects.
- Direct Download Links – No waiting, instant access.
- Before & After Previews – See the transformation before applying.
Download Free

Want more free Photoshop actions & presets? Visit DGPresets.com for unlimited downloads!