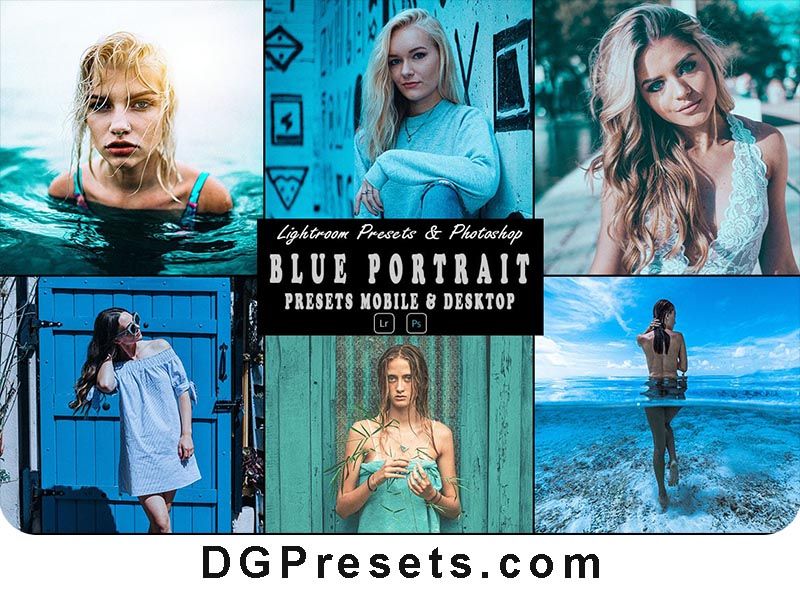
Enhance your portrait photography with these Free Blue Portrait Photoshop Action and Lightroom Presets! Designed to give your images a moody, cinematic, and cool-toned aesthetic, these filters work perfectly for fashion, lifestyle, street photography, and artistic portraits. Whether you’re a professional photographer or an influencer, these Lightroom Presets will add a stunning, high-contrast look to your images. You Can Also Download Free Photoshop Overlays
Why Use Blue Portrait Photoshop Actions & Lightroom Presets?
Cinematic & Bold Aesthetic – Adds a deep blue tone with stunning contrast.
One-Click Editing – Quick and easy way to enhance your portraits.
Compatible with Photoshop & Lightroom – Works with Desktop & Mobile versions.
Perfect for Various Styles – Ideal for portraits, fashion, urban, and street photography.
Works on RAW & JPEG Images – Ensures high-quality color grading.
What’s Included?
Photoshop Actions (3.ATN format) – For Photoshop CS6, CC & Higher.
Lightroom Desktop Presets (3 .XMP format) – For Lightroom CC & Classic.
Lightroom Mobile Presets (3 .DNG format) – Perfect for editing on the go.
Step-by-Step Installation Guide – Easy instructions for quick setup.
How to Install Photoshop Actions?
1️⃣ Open Adobe Photoshop and go to Window > Actions.
2️⃣ Click the menu icon in the Actions panel and select “Load Actions”.
3️⃣ Locate and import the .ATN file from the downloaded folder.
4️⃣ The action will now appear in the Actions Panel.
How to Use Photoshop Actions?
1️⃣ Open a photo in Photoshop.
2️⃣ Go to the Actions Panel (Window > Actions).
3️⃣ Expand the Blue Portrait Actions Folder and select an action.
4️⃣ Click the Play button ▶ to apply the effect.
5️⃣ Adjust layers, opacity, and blending modes for a customized look.
How to Install & Use Presets in Lightroom?
For Lightroom Desktop (Windows & Mac)
1️⃣ Download and unzip the preset files.
2️⃣ Open Adobe Lightroom and go to Edit > Preferences (Windows) or Lightroom > Preferences (Mac).
3️⃣ In the new window, select the Presets Tab.
4️⃣ Click “Show Lightroom Presets Folder”, then navigate to Develop Presets.
5️⃣ Copy & Paste the .XMP files into this folder.
6️⃣ Restart Lightroom, and you’ll find the presets in the Develop Module under “Presets”.
For Lightroom Mobile
1️⃣ Download and unzip the preset files.
2️⃣ Transfer the .DNG files to your mobile phone (via email, Airdrop, or cloud storage).
3️⃣ Open Lightroom Mobile and import the DNG files as photos.
4️⃣ Select an imported DNG file, tap the three-dot menu (top-right), and choose “Create Preset”.
5️⃣ Name the preset and save it under a new collection.
6️⃣ To apply, open an image, go to Presets, select your Blue Portrait Preset, and apply it with one click!
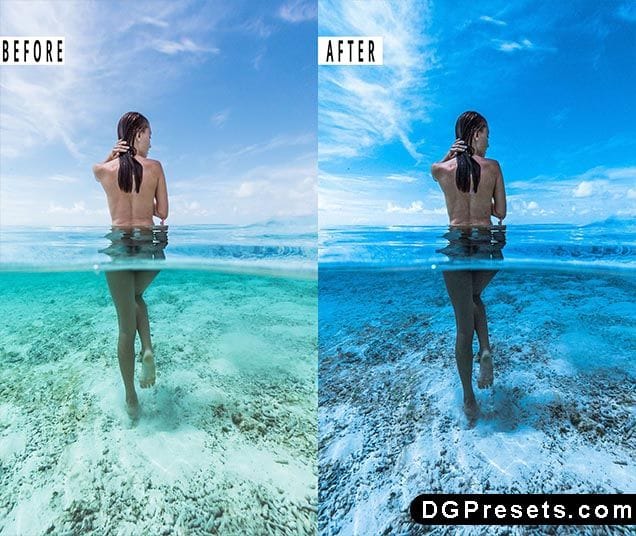
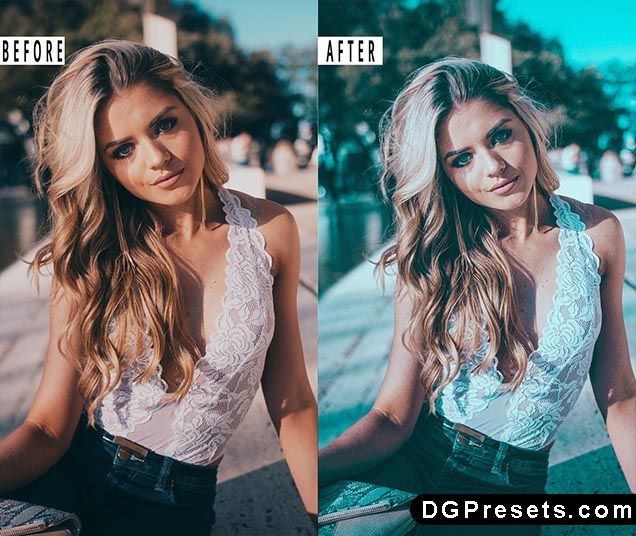
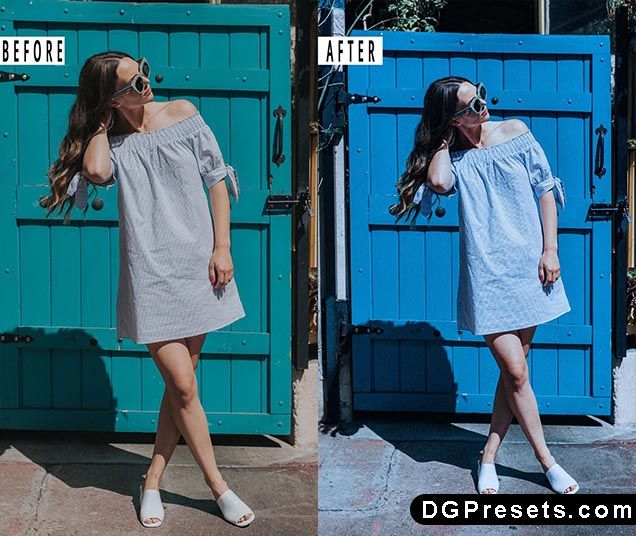
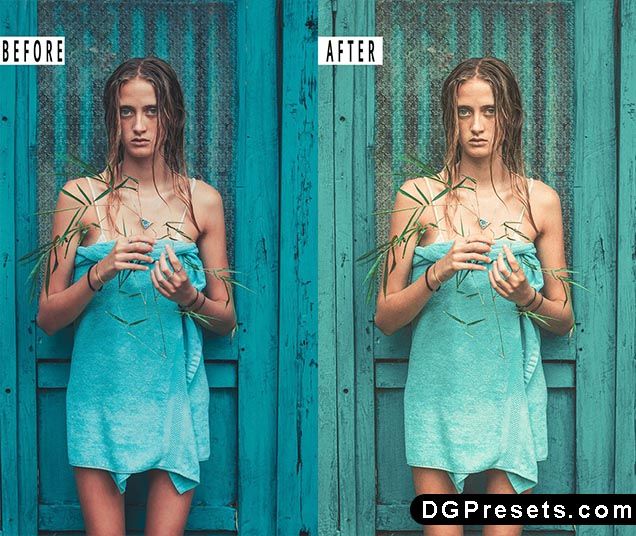
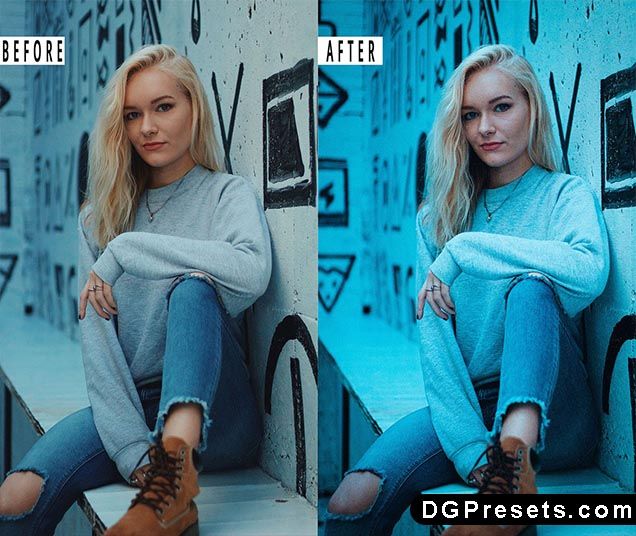
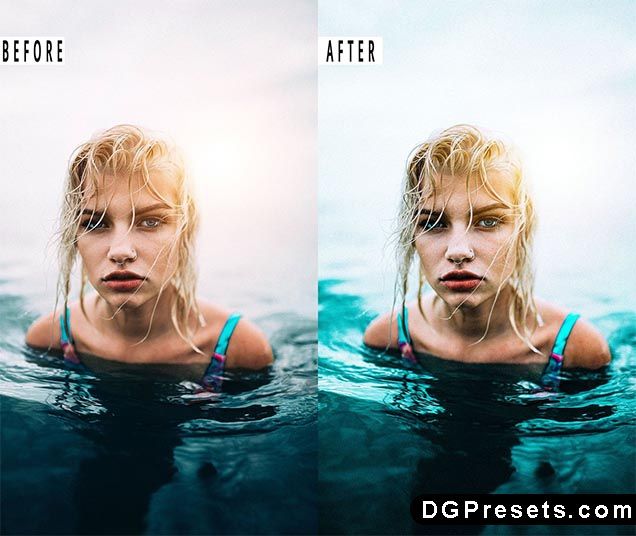
Before & After Preview
Why Download from DGPresets.com?
- Completely Free – No hidden fees, just premium-quality presets & actions.
- Commercial Use Allowed – Use them for professional photography projects.
- Direct Download Links – No waiting, no hassle.
- Before & After Previews – See the transformation before applying.
Download Free

Want more free Photoshop actions & presets? Visit DGPresets.com for unlimited downloads!