Bring a bold, cinematic, and adventure-inspired look to your photos with Adventure Photoshop Action and Lightroom Presets Free Download! Designed for travel, fashion, lifestyle, and moody product photography, these Lightroom Presets enhance colors, contrast, and sharpness to make your images stand out. You Can Also Download Free Photoshop Overlays
Why Use Adventure Photoshop Action & Lightroom Presets?
Soft & Unique Look – Enhances tones and depth for professional-grade edits.
One-Click Editing – Get an instant transformation with easy-to-use actions & presets.
Versatile & Dynamic – Perfect for blogs, Instagram, YouTube, and social media content.
Tested & Compatible – Works with Photoshop CS6 & CC+, and Lightroom Mobile & Desktop.
No Professional Skills Needed – Beginner-friendly, yet pro-level results.
What’s Included?
Adventure Editing Bundle
Photoshop Actions (3 ATN Files) – One-click edits in Adobe Photoshop.
Lightroom Desktop Presets (3 XMP Files) – For Lightroom CC & Classic.
Lightroom Mobile Presets (3 DNG Files) – Edit on the go using the free Lightroom Mobile app.
Detailed Installation Guide – Step-by-step setup and usage instructions.
Compatibility:
Photoshop: CS6 & CC (Tested and Working)
Lightroom: 4, 5, 6, Classic CC & Mobile (DNG, XMP)
Platforms: Mac & Windows
Supported Image Modes: RGB, 8 Bits/Channel
How to Install & Use These Actions?
Installing Photoshop Actions (For CS4-CS6 & CC)
1️⃣ Open Adobe Photoshop and go to Window > Actions (or press F9).
2️⃣ Click the menu icon in the Actions panel and select “Load Actions…”.
3️⃣ Select the .ATN file from your downloaded folder.
4️⃣ The action will now appear in the Actions panel.
How to Use the Action?
1️⃣ Open a photo in Photoshop.
2️⃣ Go to Actions Panel > Open the Adventure Actions folder > Select the action.
3️⃣ Click “Play” ▶️ – Watch the magic happen!
How to Install & Use Lightroom Presets?
For Lightroom Desktop (Windows & Mac)
1️⃣ Download and unzip the preset files.
2️⃣ Open Adobe Lightroom and go to Develop Module.
3️⃣ Click the “+” button in the Presets panel and choose “Import Presets”.
4️⃣ Select the XMP preset files from the unzipped folder.
5️⃣ Restart Lightroom – The presets will appear in the Presets panel.
For Lightroom Mobile (DNG Presets)
1️⃣ Download and transfer the DNG files to your mobile device.
2️⃣ Open Lightroom Mobile and import the DNG images.
3️⃣ Tap on an imported DNG image > Click “Presets” > Save it as a new preset.
4️⃣ Now, apply the preset to your photos with one tap!
Pro Tips for Best Results:
Use high-quality RAW images for more detailed adjustments.
Adjust exposure, contrast & temperature to match different lighting conditions.
Try different opacity levels in Photoshop for softer effects.
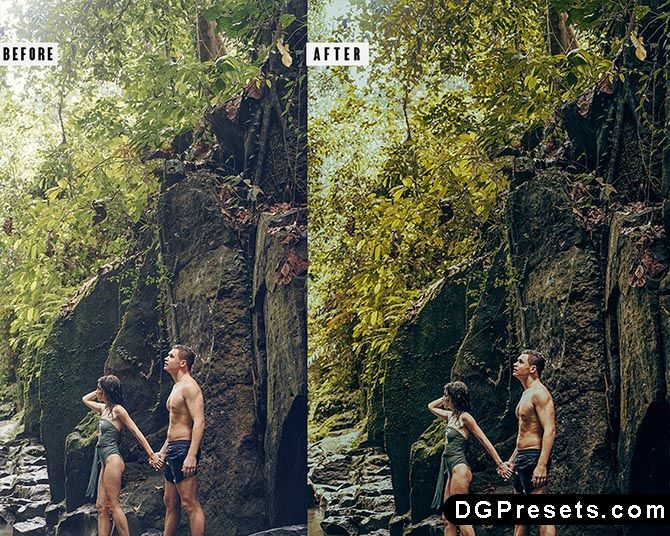
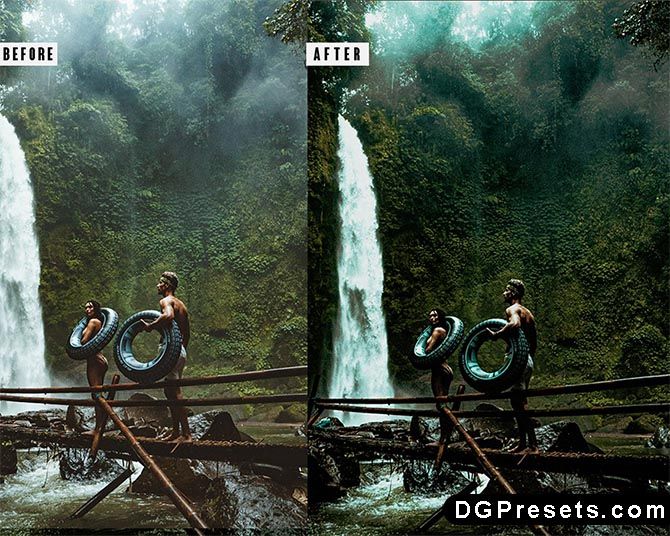
Before & After Preview

Why Download from DGPresets.com?
- Completely Free – No hidden costs, just premium presets & actions.
- Commercial Use Allowed – Perfect for professionals & creators.
- Direct Download Links – No waiting, just instant access.
- Easy Installation Guide – Step-by-step setup included.
Download Free

Want more free Photoshop actions & presets? Visit DGPresets.com for unlimited downloads!