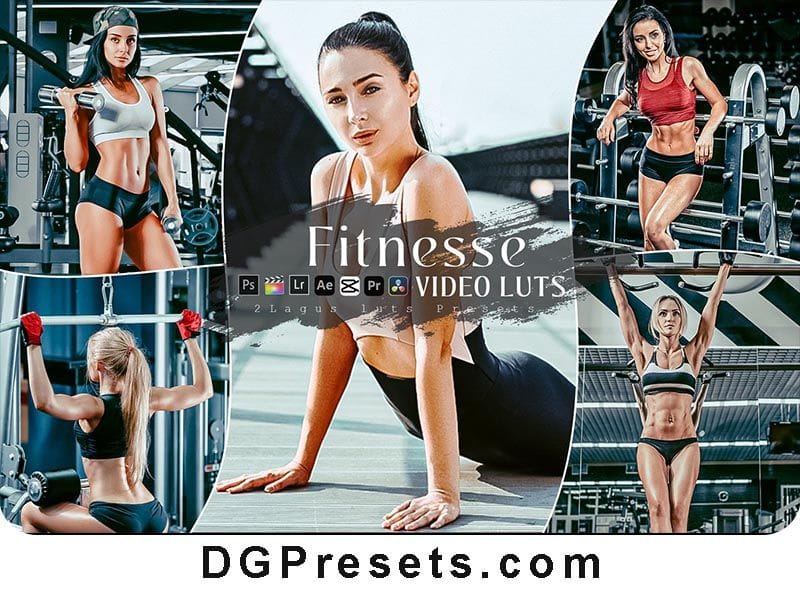
Achieve powerful, high-energy fitness photography and cinematic workout videos with this Fitness Lightroom Presets and Premiere Pro LUTs Free Download pack. Designed for athletes, trainers, fitness influencers, and content creators, this Lightroom Presets pack enhances your visuals by adding bold contrast, vibrant tones, and professional cinematic effects in just one click. You Can Also Download Free Photoshop Overlays
Why Use These Fitness Presets & LUTs?
🔥 One-Click Enhancement – Instantly improve brightness, contrast, and clarity.
📷 Works on RAW & JPEG Images – Perfect for high-resolution fitness photography.
🎥 Optimized for Video & Photo Editing – Use with Lightroom, Photoshop, Premiere Pro, and more.
💻 Cross-Platform Support – Compatible with Mac, Windows, and Mobile.
🏋 Perfect for Fitness, Gym, and Sports Photography – Get a strong and professional look.
What’s Included?
LUTs for Video Editing (.CUBE format) – Works with Premiere Pro, DaVinci Resolve, Final Cut Pro, and more.
Desktop Lightroom Presets (.XMP format) – Compatible with Lightroom CC & Lightroom Classic.
Camera Raw Presets for Photoshop (.XMP format) – Apply stunning effects in Photoshop.
Lightroom Mobile Presets (.DNG format) – Edit fitness photos on the go.
How to Install & Use
Installing Lightroom Mobile Presets (DNG Format)
1️⃣ Unzip the downloaded file and locate the DNG preset files.
2️⃣ Transfer the DNG file to your mobile device (via email, cloud, or USB transfer).
3️⃣ Open Adobe Lightroom Mobile and import the DNG file as an image.
4️⃣ Select the DNG image, tap the “…” menu, and choose “Copy Settings”.
5️⃣ Open the photo you want to edit, tap “…”, and select “Paste Settings” to apply the preset.
Installing Desktop Lightroom Presets (XMP Format)
1️⃣ Open Lightroom CC or Lightroom Classic.
2️⃣ Go to Preferences > Presets > Show Lightroom Presets Folder.
3️⃣ Open the Lightroom > Develop Presets folder.
4️⃣ Copy and paste the XMP preset files into the folder.
5️⃣ Restart Lightroom, and the presets will appear in the Develop Module.
Installing LUTs in Premiere Pro & After Effects
1️⃣ Open Premiere Pro and load your video clip into the timeline.
2️⃣ Open the Lumetri Color Panel (Window > Lumetri Color).
3️⃣ In the Basic Correction tab, find the Input LUT option and click Browse.
4️⃣ Select the .CUBE LUT file from the downloaded folder.
5️⃣ Adjust intensity and other settings to fine-tune the look.
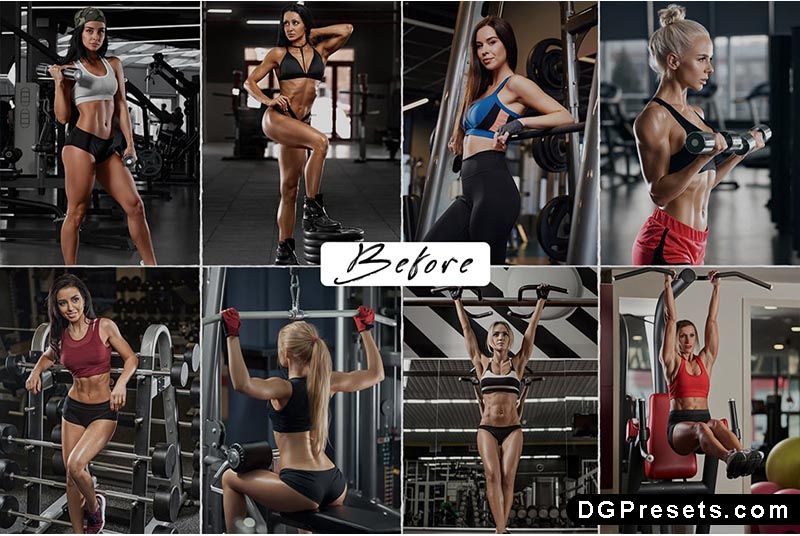
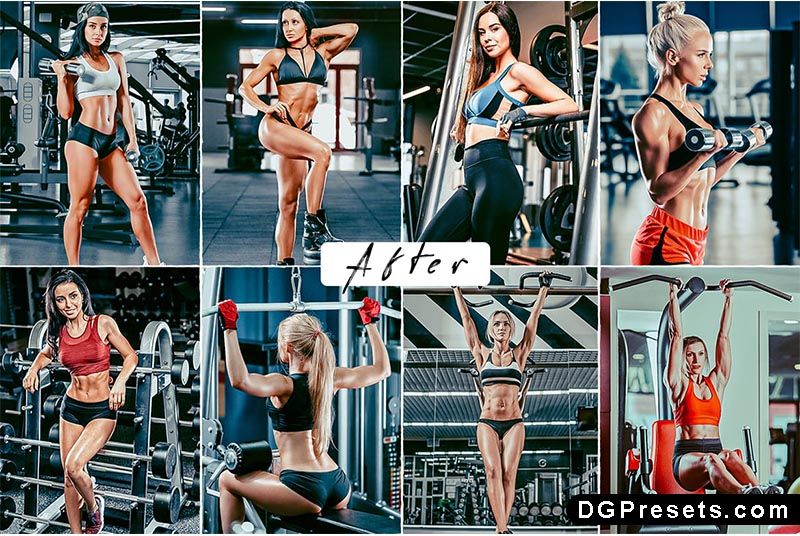
Before & After Preview
Why Download from DGPresets.com?
Completely Free – No hidden fees, just high-quality presets & LUTs.
Commercial Use Allowed – Use in personal and professional projects.
Direct Download Links – No waiting, just instant access.
Before & After Previews – See the transformation before applying.
Download Free

Want more free Photoshop actions & presets? Visit DGPresets.com for unlimited downloads!